
How to Use Motorcycle Battery Chargers
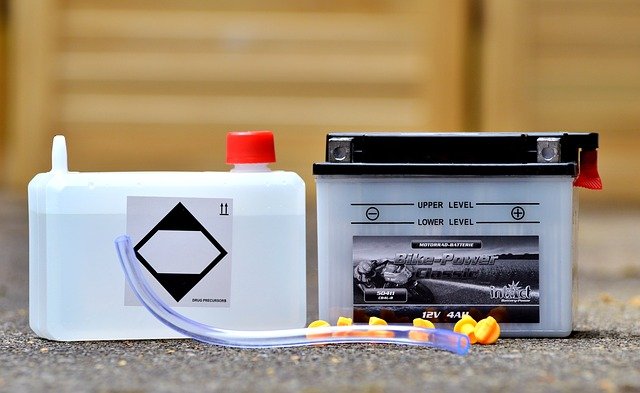
Image by Capri23auto from Pixabay
In case your motorcycle isn’t running well, or you’re simply new to the bike occupation, you may be using your charger incorrectly (visit yourmotobro.com for more). Starting and troubleshooting the motor can get hard sometimes, either because the battery is empty or you’re not charging it right. Either way, you shouldn’t worry too much, for a guide on how to use bike chargers is right here.
Step 1. Check the Battery for Malfunctions
Even though moto batteries are designed for durability, they have a weak spot, i.e., being discharged. The battery in your bike is small, so it’s capacity is rather limited, which results in wearing out and losing its resistance when it’s been idle for a while. Therefore, check your battery for functioning before getting to charge it. Besides, consider purchasing a new one, especially if you see deficiencies after the battery is full.
Step 2. Determine What Type of Battery You’re Using
It’s a crucial part simply because each kind of battery has a different charging system. Decide between Wet, Gel, or AGM that are the most common types modern bikes have. Yes, most modern chargers are adaptable and can quickly boost your battery regardless of its type. However, a lithium battery, which comes with older motorcycles, needs a specific, classic charger.
Step 3. Make Up Your Mind About a Charger
When it’s clear what battery your bike runs on, you have to determine your type of charger. Now, there are three main chargers you can be using. First, trickle chargers are very common and simple to use. It’s considered manual because you have to watch over it so that it doesn’t overcharge or overheat your battery.
Next, you might as well be using a ‘float’ one. It’s half-automatic, meaning that you can switch it on or off after you see the indicator glow green. The device is rather handy if you ask me.
Finally, there are modern smart chargers, which run completely automatically. They control the charging process and report on everything going on within the battery. Interestingly, the device regulates the power input rate and shuts down instantly if there are malfunctions.
Step 4. Charge the Battery
When you are positive about all the things above, you can begin to charge your bike. Here is what you should do:
Remove the battery
It can be hard to detach the battery because of the ongoing chemical reactions there. To protect yourself from the heat and chemicals, it’s better to use thick gloves. Detach the negative cable, then the positive one, and don’t put the two wires (black and red) together to avoid a charge. Also, gently unlock all the protective clips, which might be holding the battery fixed.
Attach the charger
Connect the terminals (the metal endings of wires) to the battery outputs. Make sure that there is a firm connection between the two sides, otherwise, you can cause a power surge. Besides, lock all the leads (if there are any) to prevent electroshocking yourself accidentally.
Plug in the device
After everything is set, you can connect the charger to a power source. Beforehand, ensure that the power source you’re using has the same voltage as your charger. If it does, you need to give it a good minute to exhibit any signs of effective charging. Now, you’re good to go!
While using a charger gets some people confused at first, it becomes effortless with time and practice. Nevertheless, there is more to a good battery than charging. It’s essential to maintain the device in proper conditions so that your motorcycle keeps on rocketing.